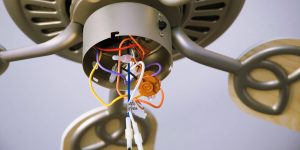
A modern convenience that has become a staple in many households is the ceiling fan remote control, offering effortless control over fan speed, lighting, and even direction. Yet, like any technological device, these remotes can occasionally encounter glitches or disconnect from the fan due to various reasons. In this guide, I will explain how to reset the ceiling fan remote. Find out the process and get the knowledge needed to handle this problem.
Preliminary steps before resetting

At first glance, it can be difficult to tell exactly what fault has occurred if your fan remote is not working. Here are the major steps you can take before attempting to reset the ceiling fan remote.
Check batteries
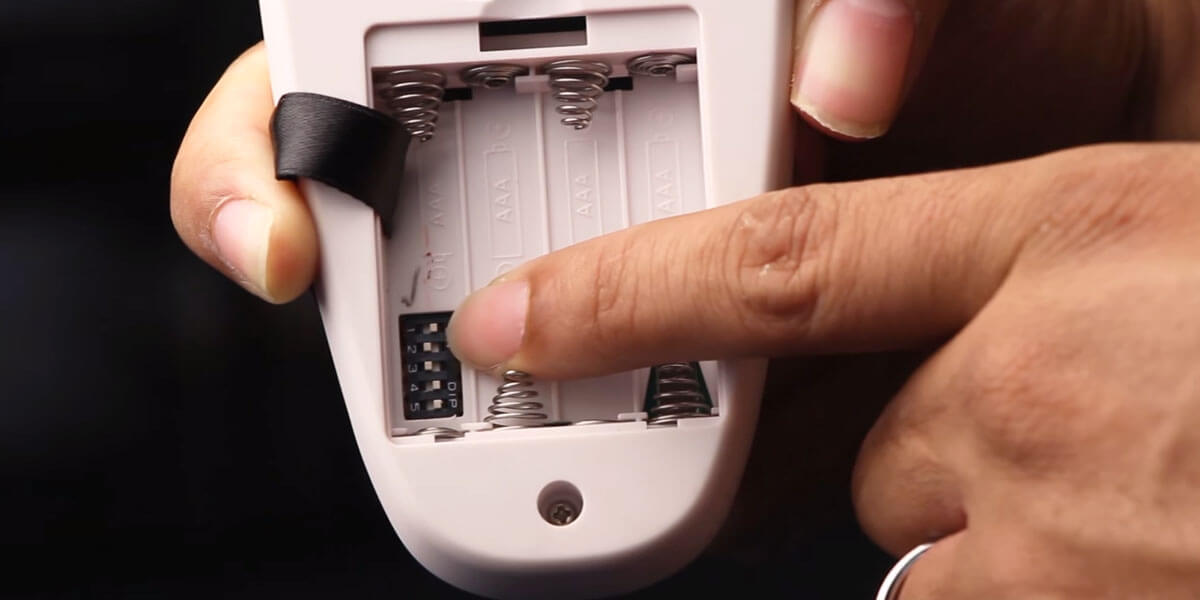
Look for the battery compartment on your remote control and open it to access the batteries. Take a close look at the batteries and check for the following:
- Battery type. Common battery types for remotes are AA or AAA alkaline batteries.
- Battery condition. If you notice any signs of corrosion, leakage, or damage on the batteries, replace them.
Ensuring there’s no interference
Interference can disrupt the communication between the remote and the fan, leading to problems with remote functionality. To minimize the interference, I recommend the following things.
Make sure there are no electronic devices like cordless phones, wireless routers, microwave ovens, or other remote controls that could potentially disrupt the signal. Try turning off or moving Bluetooth devices away from the fan to see if it improves the remote’s performance. Ensure that there are no metallic objects between the remote and the fan.
Making sure the fan is functioning properly
Most ceiling fans have pull chains or wall switches that allow you to control the fan’s speed and light settings without using the remote. If the fan responds to manual controls, it indicates that the fan’s internal components are functioning. Check if the fan’s lights turn on and the fan blades spin when the power is turned on. Test the fan’s different speed settings using its manual controls. Make sure the fan operates at all the available speed levels.
General steps to reset your ceiling fan remote
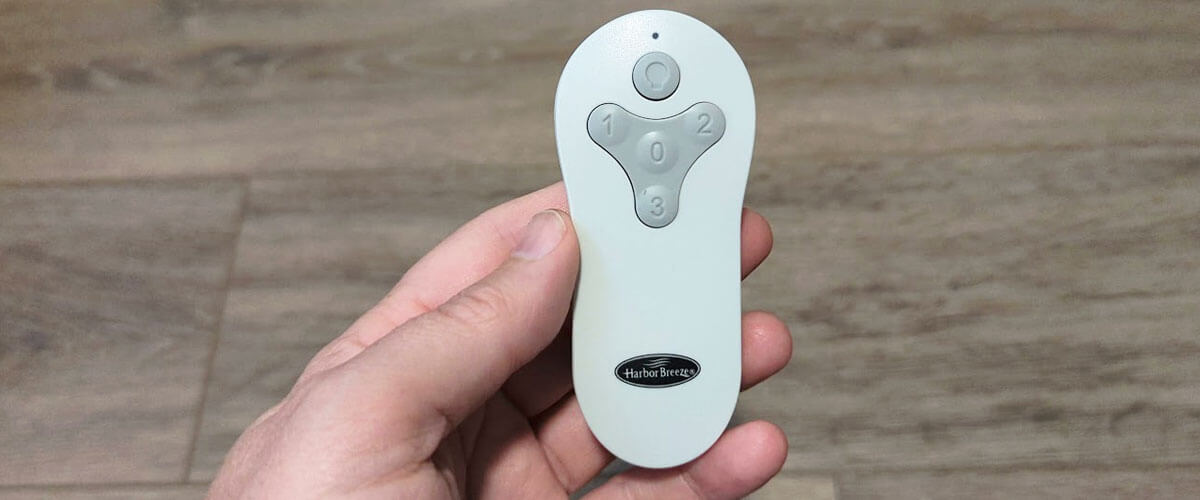
The process for resetting a ceiling fan remote can vary depending on the manufacturer and model of the fan. However, here are some common steps you can follow to do it:
- Turn off the power to the ceiling fan.
- Leave it for about 5-10 minutes.
- Remove the batteries from the remote control.
- Turn the power back on.
- Reset the remote.
- Reconnect the remote.
- Aim the remote at the fan and test its functionality. Pay attention to how the fan responds.
How to change fans’ frequency settings
Changing the frequency settings can be necessary if you’re experiencing interference or if you want to ensure your remote isn’t interfering with other devices:
- Check the manual.
- Locate the frequency buttons. These buttons might be labeled as “Frequency,” “Sync,” “Learn,” or something similar.
- Turn off the power to the ceiling fan.
- Follow the instructions in the manual to change the frequency settings.
- Once you’ve changed the frequency settings, you may need to sync or pair the remote with the fan’s receiver using the new frequency.
- Test the remote’s functionality.
Connect the ceiling fan with the remote control
The exact process can vary depending on the fan model and the type of remote control being used. I suggest just a general guide on how to connect them:
- Turn off the power.
- Reset remote.
- Access receiver unit.
- Check if the dip switch settings on the remote and the receiver match.
- Sync the remote and receiver: turn the power back on, press and hold the “Sync” button, and watch for a response from the fan. It might beep, the lights may flash, or the fan blades might move slightly. Release the button on the remote.
Remember that following the manufacturer’s instructions precisely is essential to successfully connect your ceiling fan with the remote control. Incorrectly pairing the remote and receiver can lead to issues with the fan’s functionality.




![How Many Blades Should a Ceiling Fan Have? [3 vs 4 vs 5-Blade]](https://www.kennedyproductions.com/wp-content/uploads/2023/08/does-the-number-of-blades-on-a-ceiling-fan-matter-300x150.jpg)

